How to do a burpee: step-by-step technique, common mistakes and a beginner progression
How to do a burpee with clean technique: six steps, easier variants and the mistakes that hurt your back. A coach's guide with a 10-minute workout to try.
 Sergey Titov 8 min read
Published · updated
You want to know how to do a burpee that trains you instead of wrecking your wrists and lower back, and that is the right question, because the burpee is the exercise beginners most often get wrong. It is CrossFit’s signature movement: squat down, kick back to a plank, push-up, jump the feet in, jump up and clap overhead. Six simple parts, yet the burpee is where technique falls apart first: the back rounds, the hips “worm” up before the chest, and the jump becomes a shrug on half-bent knees. Below is the step-by-step technique, the breathing, a four-stage progression from the half burpee to the full version, a 10-minute workout and the mistakes I correct most often.
What you will get from this guide
- Burpee technique step by step, with the control points that matter.
- What burpees work and why they sit in metcons and finishers rather than strength blocks.
- A four-stage beginner progression and the harder variants after it.
- A ready 10-minute workout and a plan to add reps without losing quality.
How to do a burpee: step-by-step technique
One burpee at a controlled tempo takes about five seconds. Do not rush it: learn the sequence first and the speed will come on its own.
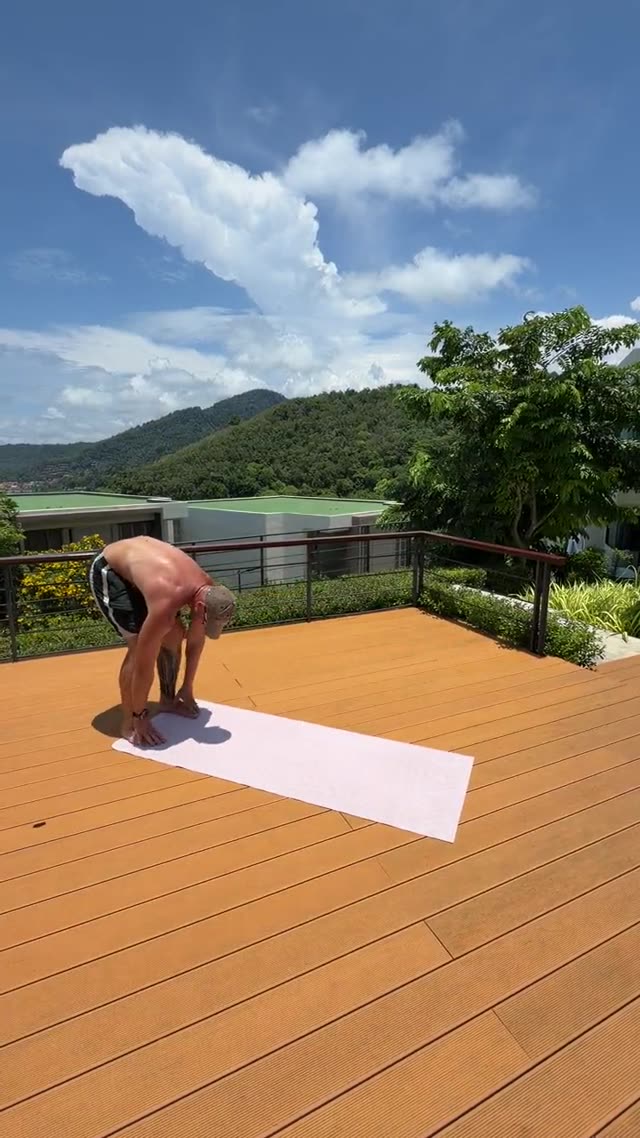
- Start. Stand tall, feet shoulder-width apart. Squat down and place your hands on the floor just in front of your feet, slightly wider than your shoulders. The back stays flat: you squat to the floor, you do not bend over to it.
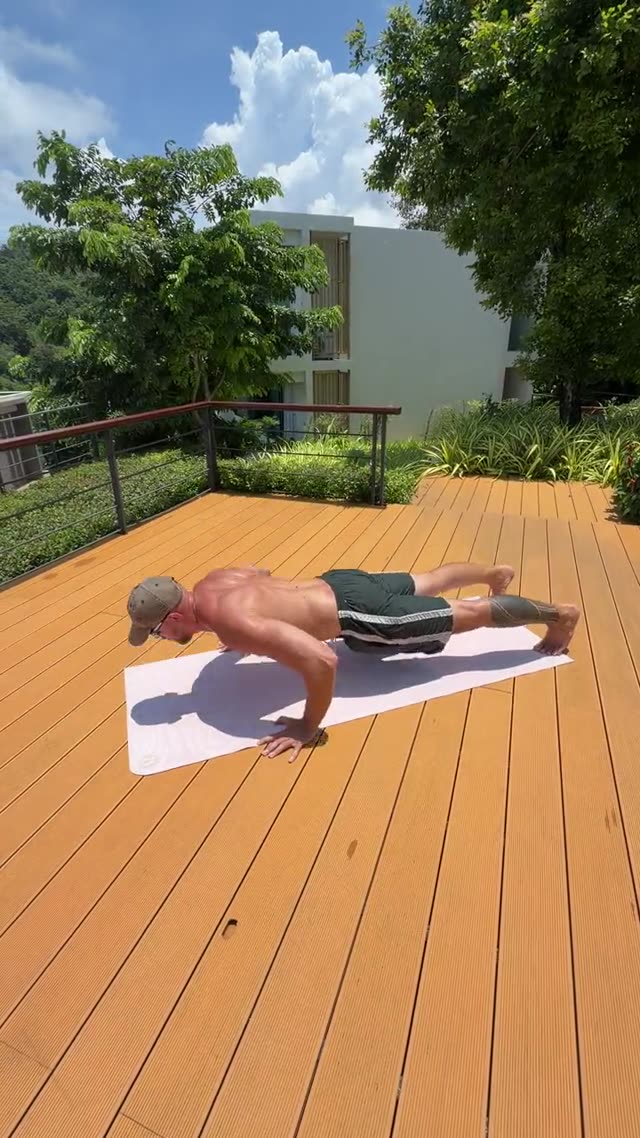
- Plank. Jump or step the feet back. The body is a straight line from head to heels, abs braced, hips not sagging. This is a high plank on straight arms.
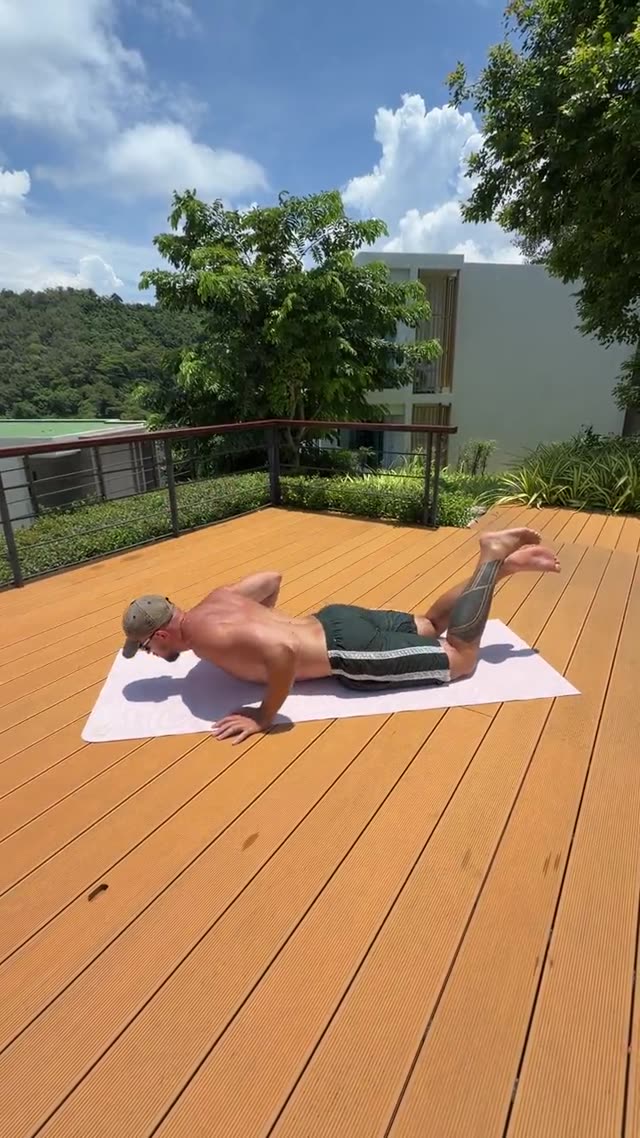
- Push-up. Lower the whole body at once until the chest touches the floor, then press back up. Chest and hips move together, no wave.
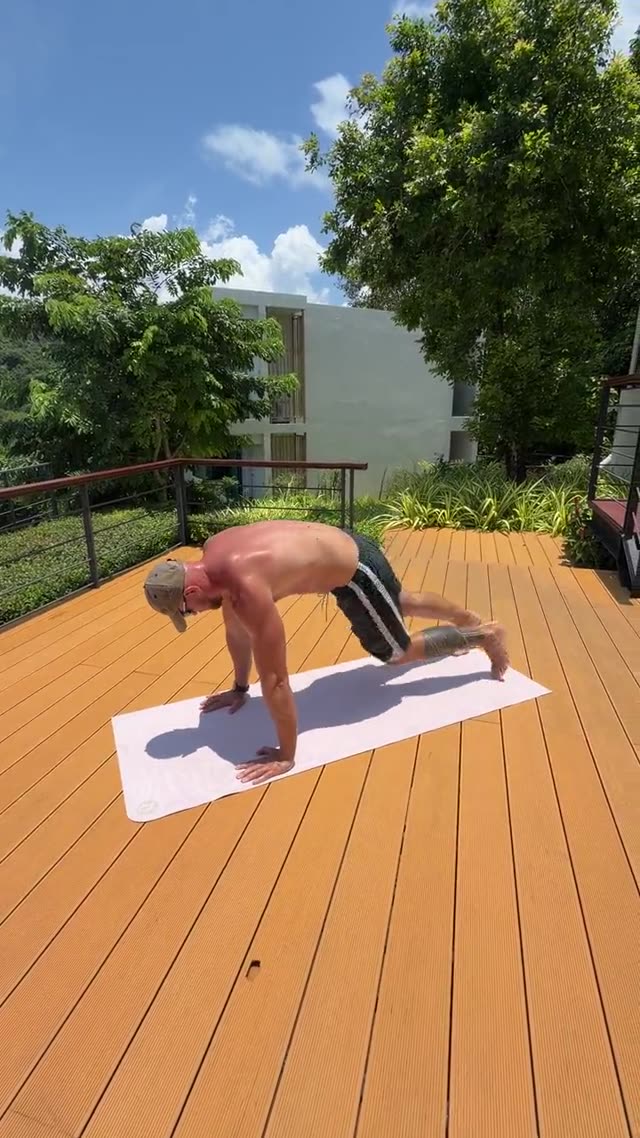
- Return. Jump the feet back toward your hands into a deep squat. If the feet do not make it all the way, take two steps; that is normal in the first weeks.
- Jump. Stand and jump straight up, fully extending knees and hips, and clap your hands overhead. The clap is not decoration; it proves you reached full extension.
- Landing. Soft, on the whole foot, knees slightly bent, and straight into the next rep.
Breathing
Exhale on the push-up and on the jump, inhale in between. The one rule is never to hold your breath: a held breath on the fifth burpee becomes dizziness on the tenth.
How long should one burpee take
The training target is 10 to 12 clean reps per minute. Clean means chest to the floor, full extension and a clap overhead. Twelve honest burpees are worth more than twenty sloppy ones.
What do burpees work, and why they are in the program
A burpee loads everything at once: legs in the squat and the jump, chest, shoulders and triceps in the push-up, the core in the plank. But its real job is heart rate. In the Compendium of Physical Activities burpees sit among the most vigorous calisthenics, with one of the highest energy-cost ratings of any equipment-free exercise, which is why they spike the pulse faster than anything else you can do on a mat. That defines their place in a program: short sets inside EMOMs and AMRAPs and a finisher after strength work.
Do not make burpees your only exercise. They do not replace squats and hinges as strength work, and the dose of high intensity is limited: the WHO recommends 150 to 300 minutes of moderate activity a week, and most of it should be moderate. Burpees are the seasoning, not the meal.
Burpees for beginners: a four-stage progression
The full burpee is a level-2 exercise. If a floor push-up is not there yet or your knees dislike jumping, start lower and climb.
Stage 1. Half burpee
The half burpee has no push-up and no jump. Hands to the floor, step back to a plank, step forward, stand fully tall. Your heart rate still climbs while wrists, shoulders and knees get the minimum load. Work in sets of 6 to 8 until the plank position is straight every time.
Stage 2. Burpee without the push-up
Same pattern, but the feet go back and return with a jump, and you finish with the jump and clap. Here you learn the rhythm of the full burpee without spending strength on the press.
Stage 3. Burpee with a knee push-up
Add the push-up from the knees: in the plank, drop the knees to the floor, do a knee push-up, lift the knees and jump the feet in. When ten of these hold their shape, you are ready for the full version.
Stage 4. Full burpee
All six steps from the section above. Train push-ups separately on strength days: the stronger your press, the less each burpee costs you.
After that
When 15 consecutive full burpees look identical from the first to the last, make it harder: a burpee with a broad jump instead of the vertical jump, a burpee with a pause at the bottom of the push-up, or, with dumbbells, the devil press, where you bring the dumbbells overhead after the push-up.
A 10-minute burpee workout
Suitable for week two or three, once stage 2 or 3 is solid. Every exercise is in the Forma library.
Warm-up, one round. 60 seconds of jogging in place, 30 seconds of arm circles, 5 inchworms, 6 squat-to-stands. The inchworm is the best preparation for the plank position I know.
EMOM 10 minutes. Odd minutes: 6 burpees. Even minutes: 10 air squats and 20 mountain climbers. Whatever is left of each minute is rest. Each task should take 30 to 40 seconds; if the burpees run longer, do 5 in the next odd minute.
Cool-down. 45 seconds in child’s pose, then 40 seconds of the hamstring stretch per leg.
How the app scales this session. The questionnaire on first login and the short test after your second workout set your level, and at level 1 the burpees in the plan are automatically swapped for half burpees and the push-ups for knee push-ups. Before you start there are three options: “easier” drops a set from one or two of the biggest blocks and trims the reps by about 10 percent, “harder” does the reverse, “as planned” keeps the coach’s numbers; rest between sets stays the same. After the session you rate the effort from 1 to 10; two sessions in a row rated 6 or lower with the full plan completed is the signal for Forma to suggest “harder”.
Common mistakes
- Rounding the back when placing the hands. You are bending over instead of squatting. Sit deeper and put the hands closer to the feet.
- Worming the push-up. Hips rise before the chest. Go down and up as one line; if you cannot, go back to stage 3.
- Jumping without extension. Half-bent knees and a clap somewhere near the forehead. Stand all the way up and clap overhead.
- Hands too far from the feet. You end up crawling into the plank. In the squat, the hands are directly under the shoulders.
- A stiff landing. Straight legs and a heel strike. Land soft on the whole foot and keep the knees from collapsing inward.
- Holding your breath. Exhale on the push-up and on the jump, every time.
- Sprinting the first minute. Fifteen burpees in minute one and five in minute five is a bad workout. Hold an even pace from the first rep.
If your wrists hurt, you have lower-back or knee problems, high blood pressure, or have not trained in a long time, talk to a doctor before adding burpees and start with the half burpee.
How to progress
- Weeks 1 and 2. Half burpees or burpees without the push-up: 4 to 5 sets of 6 to 8 reps with 45 seconds of rest, twice a week.
- Weeks 3 and 4. An 8 to 10 minute EMOM with 5 to 6 burpees on the odd minutes, like the workout above. Keep each task under 40 seconds.
- Month 2. Burpees inside AMRAP and For Time workouts, explained in the guide to workout formats. Increase volume by 5 to 10 percent at a time.
- How many burpees should you do. For a beginner, 30 to 50 per session two or three times a week is plenty. Add more only when your technique looks the same on the last rep as on the first.
Burpees fit into any no-equipment CrossFit workout, and the beginner’s guide to CrossFit at home shows where they belong in your first four weeks.
Wrap-up
A burpee is six simple movements that only work when you do them in order and at an even pace. Start with the half burpee, add the push-up and the jump as you earn them, count only clean reps, and do not turn burpees into a daily ritual. If you would rather have the volume and the rest chosen for you, build the base first in the Start: home CrossFit basics course: twenty workouts with no jumps or burpees — the squats, push-ups, lunges and inchworms a burpee later stands on — and the app adjusts the volume after every session.
FAQ
What is a half burpee and who is it for?
A half burpee is a burpee without the push-up and the jump: hands to the floor, step back to a plank, step forward, stand fully tall. It is the starting stage for beginners and the substitute for anyone with wrist or knee issues.
How many burpees should I do in a workout?
For a beginner, 30 to 50 reps per session two or three times a week, in sets of 5 to 8, is plenty. Add volume only when your technique looks the same on the last rep as on the first.
Do I have to do the push-up in a burpee?
In a full burpee the chest touches the floor. Until a floor push-up is solid, do the burpee without the push-up or with a knee push-up; those are legitimate progression stages, not cheating.
Can I do burpees every day?
No. Burpees are a high-intensity exercise and the body needs recovery. Two or three sessions a week with burpees inside them is a sensible dose; walk and do easy work on the other days.
What do burpees work?
Legs, chest, shoulders and core at the same time, but above all cardiovascular endurance: burpees raise the heart rate faster than any other exercise that needs no equipment.